Tutorial difficulty: Beginner

Basketry is back, baby! Well, it never really left. But, it’s fair to say that interest in coiled rope baskets is experiencing a meteoric rise. It can be hard to understand the moment in which a trend begins to germinate (it’s hindsight that generally helps us to understand this sort of thing), but I will venture some guesses about why basketry is increasing in popularity in 2024.
Top 10 reasons to learn coiled basketry
- Coiling is accessible. It’s very easy to learn.
- Coiling is a democratic craft practice. There’s no machinery or specialty tooling you’ll need to purchase, house, and troubleshoot. You can likely get started with what’s already at arm’s length in your milieu.
- Coiling is portable. Unlike weaving (requiring a loom), or macrame (requiring a pin board or a rack), coiling can be done from your floor, couch, car, desk, or kitchen.
- Coiling allows for different body postures. I’ve personally learned to coil with an acute back injury that’s left me only able to create while lying down. But it can be done sitting and standing too–or anything in between.
- Coiling requires very little space. We don’t all have a lot of space to work in, and I love a craft that is as economical and inclusive as this one.
- Coiling calms the nervous system. Because you count as you spiral, there’s a brain quiet that takes over as you coil.
- Coiling draws on many different fiber modalities. It’s a cross between weaving, wrapping, stitching, and knotting. You’re likely going to love it if you have some experience with macrame, weaving, crochet, quilting, embroidery, emballage, or knitting. And, guess what: you’ll also love it if you have no prior experience with fibre craft. Coiling is just that fun!
- Coiled basketry is a great way to implement scraps in your fiber stash.
- Coiled baskets are style chameleons. They can take on totally different aesthetic inclinations, depending on the fibers you choose to wrap with.
- Coiling creates beautiful, utilitarian objects for the home. How many storage spaces do you need for trinketry, fibers, knick knacks, and treasures? It’s rewarding to make beautified vessels for your home. And to top it all off, baskets make fabulous gifts.
Materials you will need for this tutorial
- 150 feet (total) of Metallic T-shirt Yarn (we used Gold Glam, Neon Green, Barbie Pink, Electric, and Disco Ball for “Electric Easter” vibes). We used 20 feet of metallic t-shirt yarn as wrapping fiber for each coaster, and 65 feet for the basket, and 25 feet for the basket lid
- 32 feet of 10mm of Recycled Triple Strand Recycled Natural Cotton
- Tapestry Needle (Coming soon to Unfettered Co)
- Scissors
Why we chose to work with our Metallic T-Shirt Yarn (as a wrapping cord) for this tutorial:
- it’s a vegan yarn with a faux-leather look, which we love
- its width, softness, and flatness make a perfect beginner-friendly wrapping fiber (because it’s easy to cover the coiling cord with very few wraps)
- its intergalactic aesthetic is a surprising one for fiber to achieve, and our collection’s colours are unbeatably fun
- a nylon fiber like this is easy to clean and can be wiped with a damp cloth (a great property for a coaster that might need to survive spills from time to time)
- If you’d like to achieve a more natural look, this tutorial will also work with some different wrapping fibers. Our recycled sari silk is a beautiful alternative to metallic t-shirt yarn and our recycled cotton t-shirt yarn would make a great substitute as well
Why we chose to work with our 10mm Triple Strand Recycled Natural Cotton (as a coiling core) for this tutorial:
- 10mm makes a great diameter for a coiling core
- we love a recycled fiber that transforms textile waste otherwise headed for a landfill
- a triple strand cotton has some advantages as coiling core medium that braided cotton does not. Being able to separate the three strands at the end of your coaster/basket will mean that you can more easily achieve a taper that will help to hide your coiling core from visibility and give your spirals the illusion of not ending abruptly
- with approximately 32 feet per hank, our 10mm recycled triple strand cotton comes in an ideal length for multiple coasters and a small basket
Let’s make a coiled coaster:
- No need to cut your 10mm coiling core (you can do so later). But it will be helpful to cut two 10 foot pieces of the same colour of metallic t-shirt yarn. The metallic t-shirt yarn is your “wrapping cord” and the 10mm triple strand natural is your “coiling core.”

2. Thread one 10 foot piece of metallic t-shirt yarn through your tapestry needle and then begin with the opposite end. Hold flat against your coiling core about 2″ of metallic t-shirt yarn directed away from the core’s end, then begin wrapping tightly as close to the tip of your coiling core as you can get. Flatten the t-shirt yarn as you wrap so that you’re creating a smooth, polished, even surface.


3. Once you’ve tightly wrapped 2″, fold your coiling core against itself. This will create a loop with your coiling core. Leave enough of a hole in your loop that you’ll be able to feed your tapestry needle through, then keep wrapping for another two inches or so. You will have created what looks like a giant needle head with a small pin hole in it.

4. Begin to create your spiral by folding your coiling core against itself once again.


This time, feed your tapestry needle through the tiny middle hole you’ve created and pull your stitch tightly.


Wrap four more times around your coiling core, then pull your tapestry needle through the middle hole once again (creating your second stitch). You now have what looks like a fiddlehead.
5. Wrap four times around your coiling core, then create a stitch. Wrap 4 times, then create a stitch. Proceed with this exact same technique until you can create a stitch by passing your tapestry needle through the previous layer of your spiral (and not the middle hole).

6. Keep counting four wraps to every one stitch as you spiral around and around, making a firmly coiled circle that keeps growing.
7. Eventually, your wrapping cord will come to an end and you’ll need to add in your second 10 foot strip of metallic t-shirt yarn. To add in a new wrapping cord: once you have about 5″ remaining on your working wrapping cord, lay your second wrapping cord flat against your coiling core. With your current wrapping cord, create 2-3 wraps around your coiling cord and your new wrapping cord laid flat. This will secure your new wrapping cord in place so that you can now switch wrapping cords and begin coiling and stitching with the cord you’ve just added in.
8. Once your coaster reaches about 5″ in diameter, it’s time to end your spiral.
9. Cut your coiling core in a taper, leaving yourself about an inch to work with.

10. With the help of your tapestry needle, stitch all the way around the tapered ending of your coiling core and your previous layer of spiral. Wrap like this until your coiling core is completely invisible.


11. Knot your wrapping cord twice before cutting it by passing it through your last stitch, then tying a knot (like you would tie off thread when sewing something by hand). Cut the end of your wrapping cord close to the knot. Your coaster is finished!


Let’s make a coiled basket:


A coiled basket is basically a coiled coaster with sides added in. To move from coaster to basket is a nice way of learning to coil because it’s scaffolded. To begin your basket, you’ll need to work with the remainder of your 10mm coiling core and you’ll need at least 60 feet of metallic t-shirt yarn. Because our t-shirt yarn comes in 80 foot balls, a ball is a perfect size for a small basket. Cutting your metallic t-shirt yarn in 10 foot strips before you begin will speed things along as you proceed through this tutorial.
1. Complete steps 1-7 of the coiled coaster tutorial above.


2. Coil your flat surface until it reaches the diameter you wish it to be. This will be the bottom of your basket.
3. To give your basket bottom sides, you will keep coiling in the same way, but stack your coiling medium on top of your outer spiral. As you coil, keep stacking your layer so that your basket has an even lip all the way around. You’ll keep shaping your sides with one coil stacked on top of the coil below until your basket has reached the desired depth.


4. End your basket by repeating steps 9-11 of the coiled coaster tutorial.


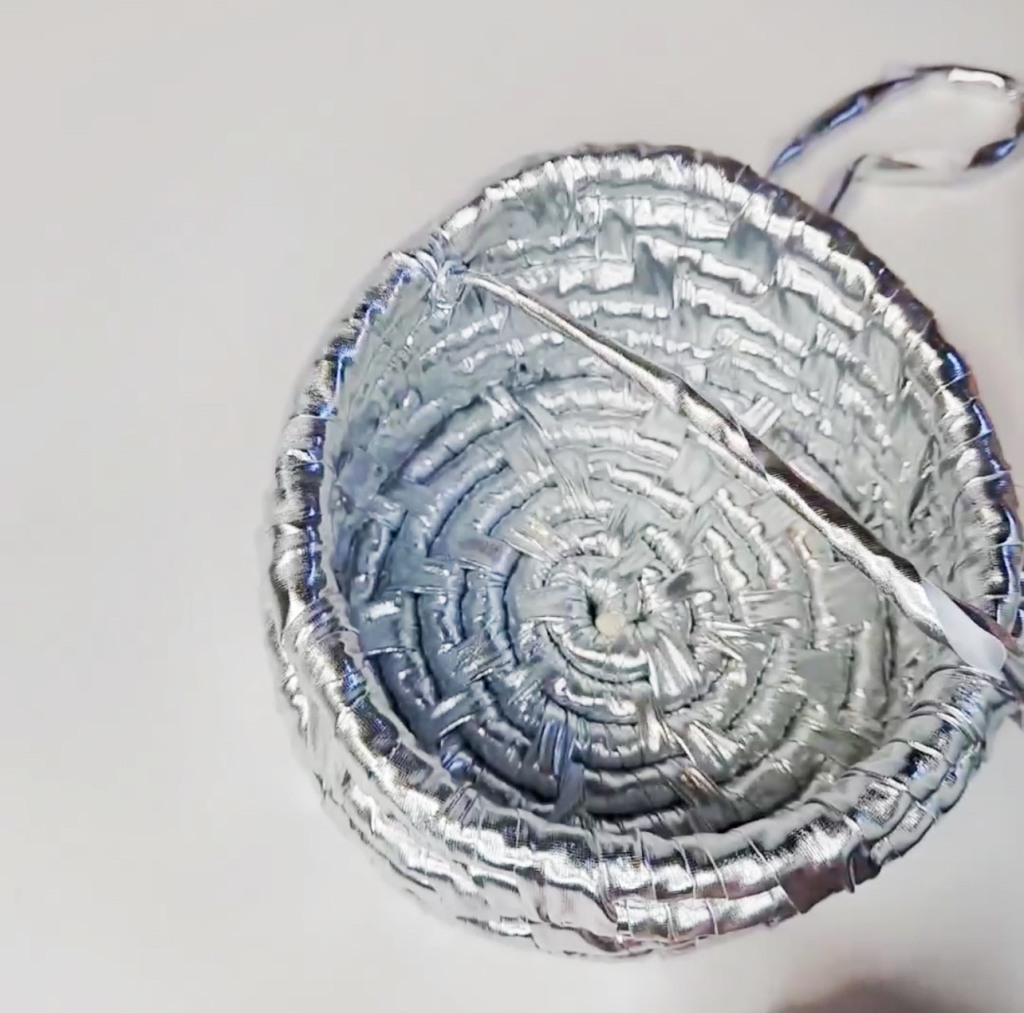
Optional Basket Lid:
1. Repeat the Coiled Coaster Tutorial, but make your coiled surface the same diameter as your basket
2. With the help of your tapestry needle (or a crochet hook if you have one), pass a 12″ piece of metallic t-shirt yarn along with a 12″ piece of 3-5mm cotton cord through your coaster about 1″ from the side. Flip your coaster and tie a knot with both fibres to secure them.


3.Flip your coaster (“flip your lid” ;)) again so that what will become the top (side without the knot) is facing you. Tightly wrap your metallic t-shirt yarn around the cotton until your handle is the desired width and height. Then repeat steps #2 and #3. Cut off excess cord around the two knots.


4. Enjoy 😉
